I was very tempted to add a notation to the name saying “Raw Mango pickle”. However, this would be patently untrue. There are so many versions of the Andhra raw mango pickle, I cannot begin to write about all of them. So let me start with the most famous: Avakaya.
Let me also mention outright that there are certain ingredients that are found only in the Telangana/Andhra Pradesh region, and are NOT found anywhere else, even through online groceries. So it helps if you know someone who lives in the region, if you happen to be living outside. Since these are branded products (AS Brand Pappu Nuna/Husked Gingelly Oil, and Three Mangoes Mirchi Podi), they are relatively easy to send across. There may be other brands, but my mother-in-law swears by these 2 brands as she has been using them for many years
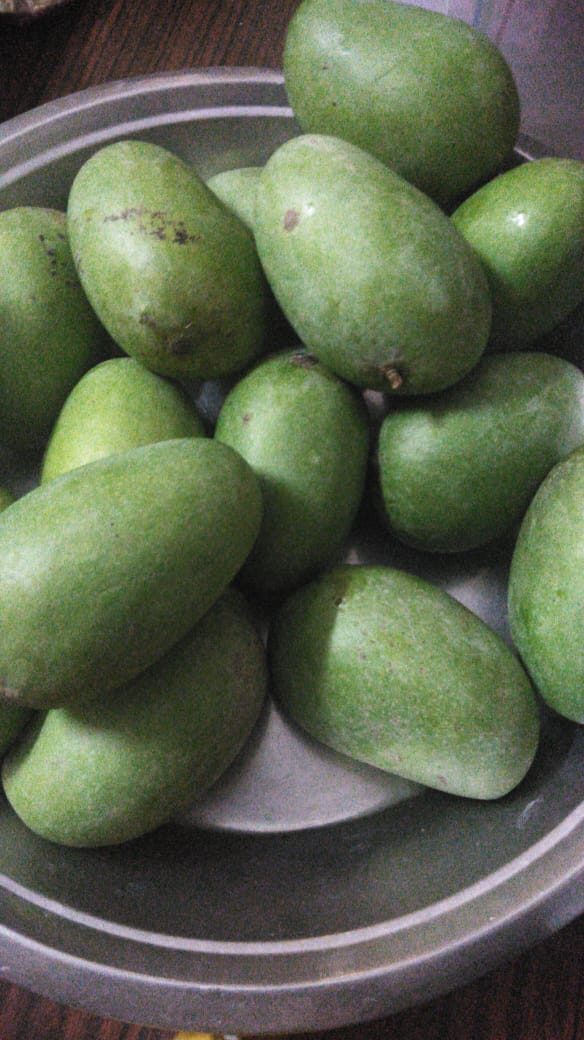
Also, a lot of care needs to be taken when selecting the mangoes for avakaya.
The avakaya mangoes are available in the Andhra/Telangana region from mid-April till mid-May. The mangoes start to ripen by May, and are not ideal for avakaya.
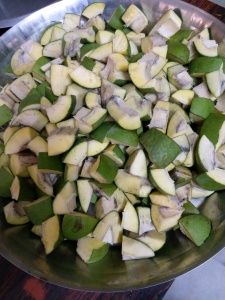
The sourness has to be high, as well as the mangoes need to be very firm to the touch. However sour, if the mangoes are soft, it will spoil the taste of the avakaya, as well as mash the pieces while they are getting pickled. It is equally important to have someone who can cut the mangoes. The mangoes are made into piece with cutters specially made for mangoes, as they need to cut through the seed in a single blow. The inside seed is removed and the mango pieces hold their shape because of the hard shells.
My mother-in-law often says that preparing the avakaya is a lot of effort, even before mixing it together, but the pickle can be enjoyed for the entire year! Avakaya can be easily stored for 3-4 years. Though by that time, the mango will have softened tremendously, and the newer avakaya will be preferred. 😉
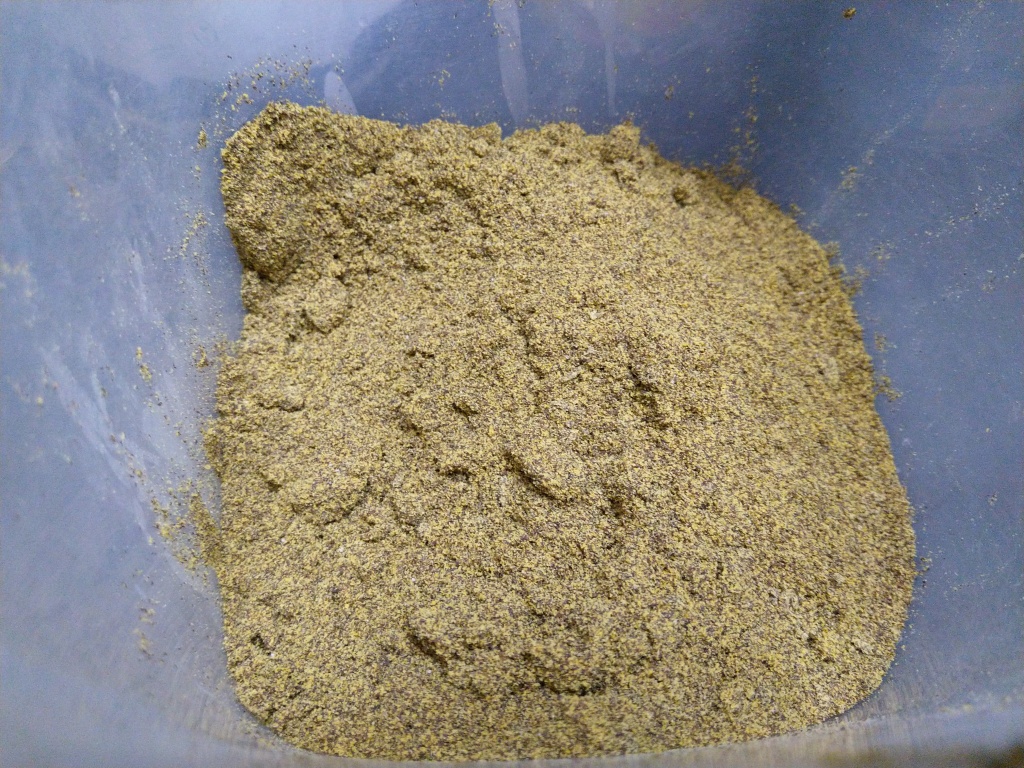
Avakaya gets its name from aavalu (mustard seeds), kaya being raw (mango). The pungent smell and flavour of the aava podi (mustard powder) is what is distinctive of avakaya.
Important Notes:
Avakaya preparation is a highly intuitive process. A lot of the flavours depend on one’s understanding of the sourness (or lack thereof) of the mangoes, and adjusting the other ingredients accordingly. For this reason, each version of avakaya may be different (however marginally) from others.
Remember to wash and wipe clean all the mangoes before cutting them up. That way they will be ready for pickling without any delay. They can be wiped after cutting, but its a much more laborious process.
Ingredients:
15 medium-sized raw mangoes
3 ltrs AS Brand Husked Gingelly oil + 1/2 ltr (optional)
Three Mangoes Mirchi powder – 3/4th kg
Tata Salt 1/2 kg
1.5 kgs mustard seeds (very fine variety)
150gm fenugreek seeds (menthulu)
1 tsp turmeric powder
1 large airtight container to store
newspapers to protect surface
vessels for mixing
250gm measuring tin (if required)
Method:
* Grind the mustard seeds and finely sift the powder (aava podi). The first sifting is used for avakaya. The further ground mustard powder is used for other pickles. Add 1-2 tsp salt in case you wish to grind in advance and store.
–– Aava podi is also readily available in stores. However, homemade is best!
* In the container, sprinkle some salt and turmeric powder and set aside
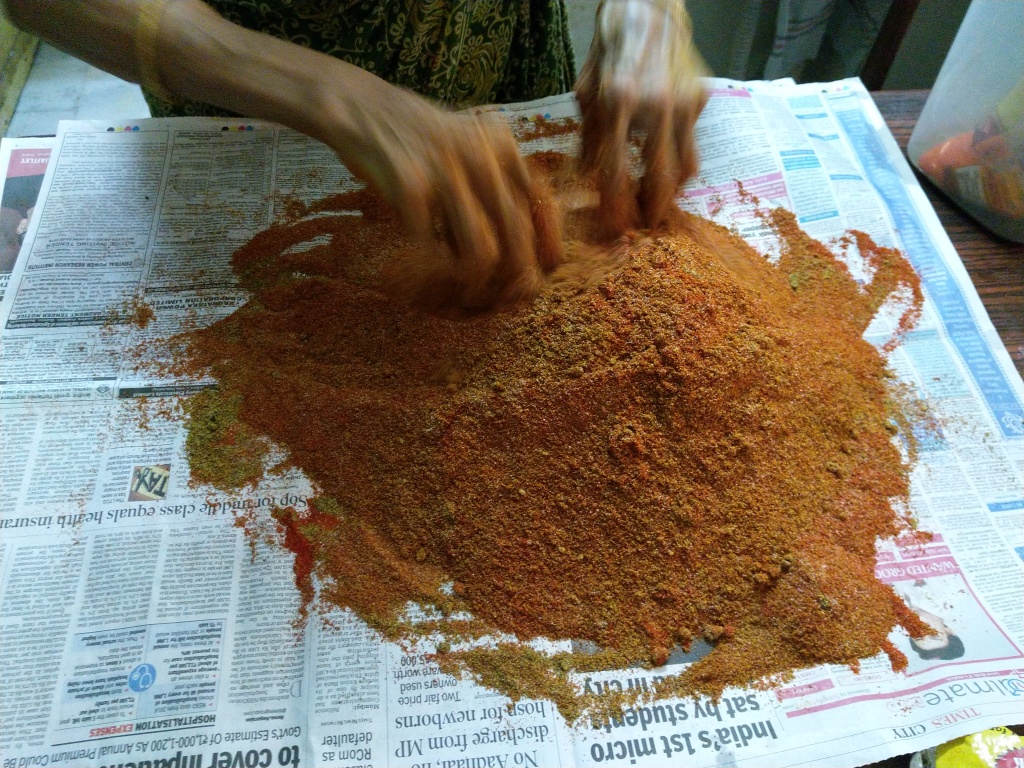
* Prepare the avakaya mixture of the fenugreek seeds (150gm), salt, mirchi powder and mustard powder in ratio of 2: 4: 6 and mix well.
* In a plate take a few of the mango pieces, add some oil, and mix well.
* then add the avakaya mixture till mango pieces are completely covered and mix well, adding oil intermittently.
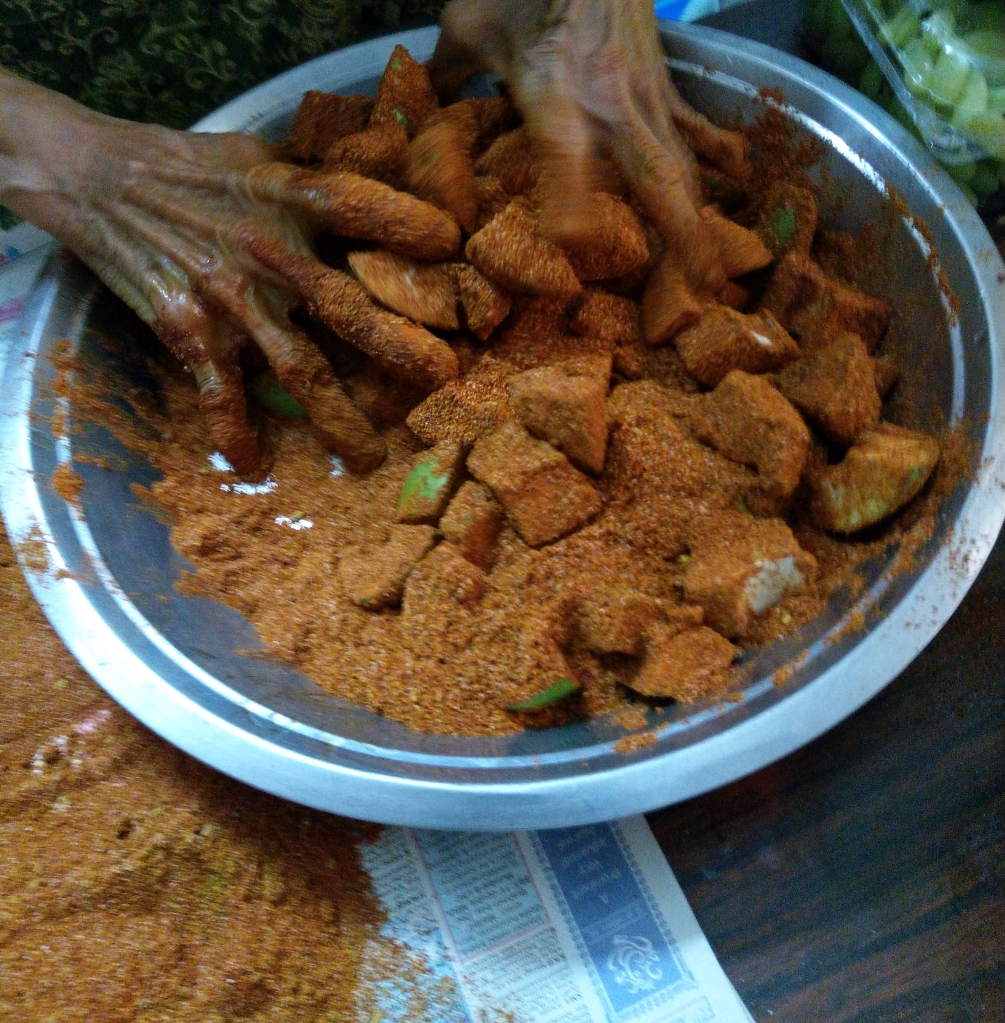
* keep mixing and adding the oil till the entire avakaya mixture is completely wet and stuck to the mango pieces..
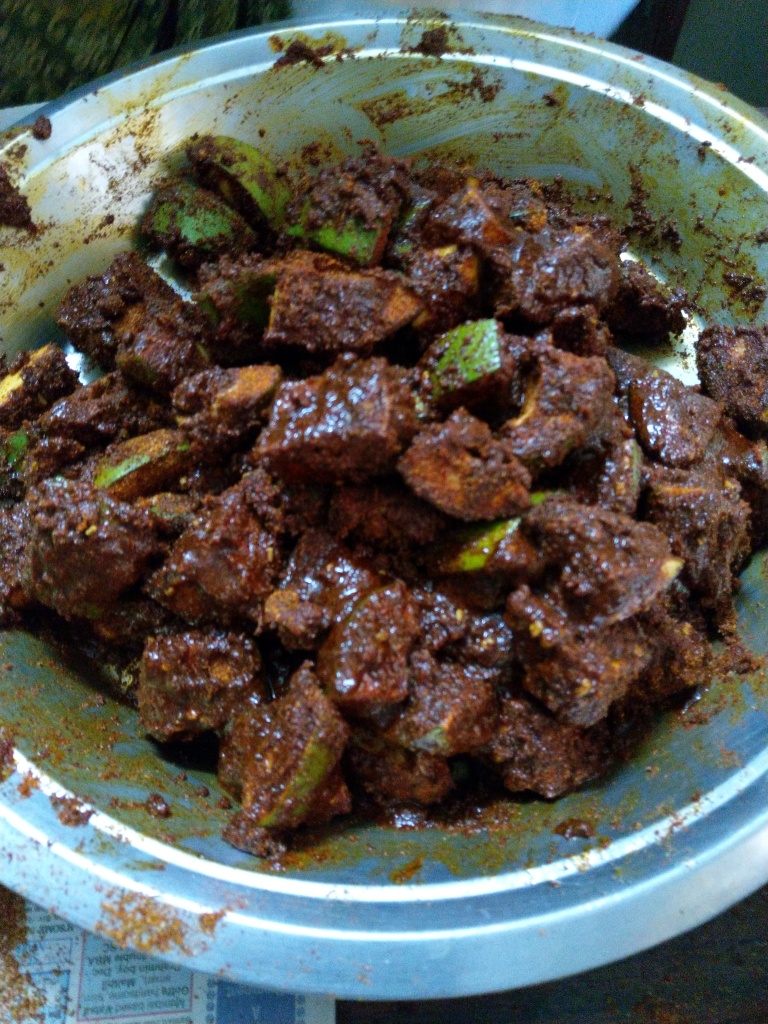
* Transfer to the container.
* repeat the process till all the mango pieces are well covered in the avakaya mixture and transferred to the container.
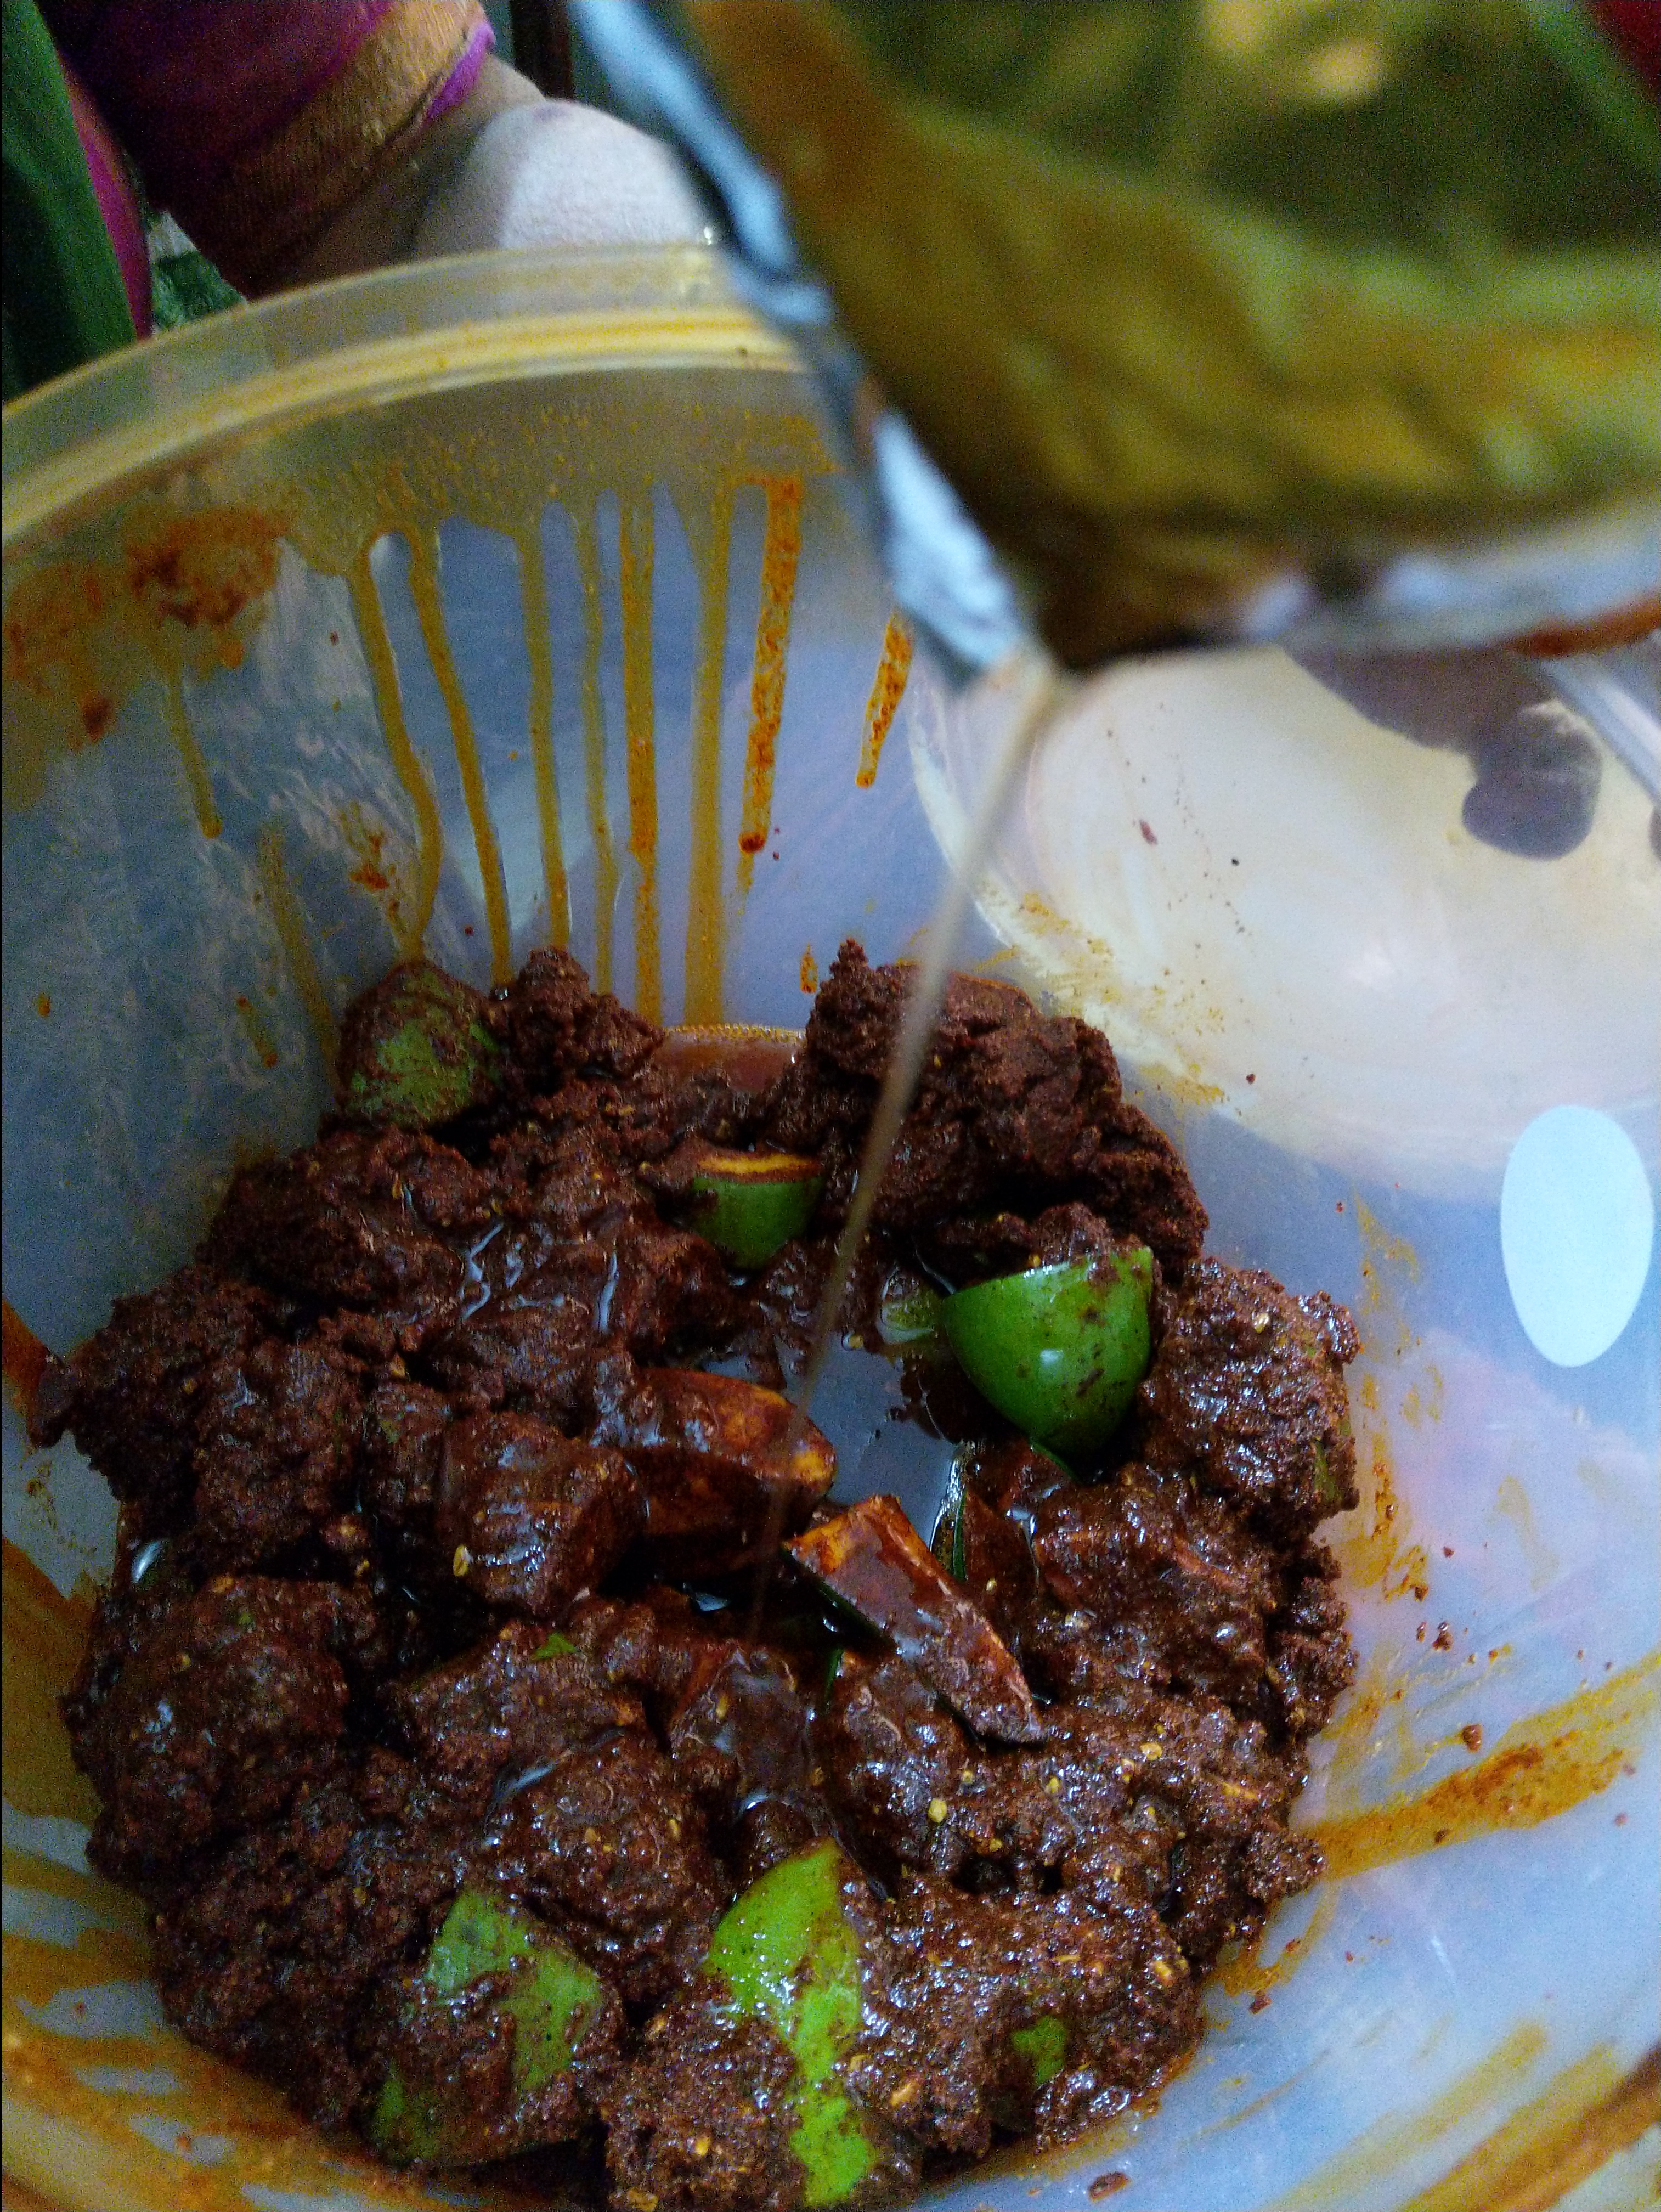
* Add remaining oil into the container until the avakaya is completely submerged.
*Mix well by hand.
Set aside in a cool, dry place, to rest. You need to check on it and mix every 2 days for a week.
The pickle will be ready to serve in a week from preparation.
However, most people (my family included) are tempted to have it from Day 1 😁😉. Of course, its only to check if its progressing nicely!😂😂